 English
 عربى
عربى
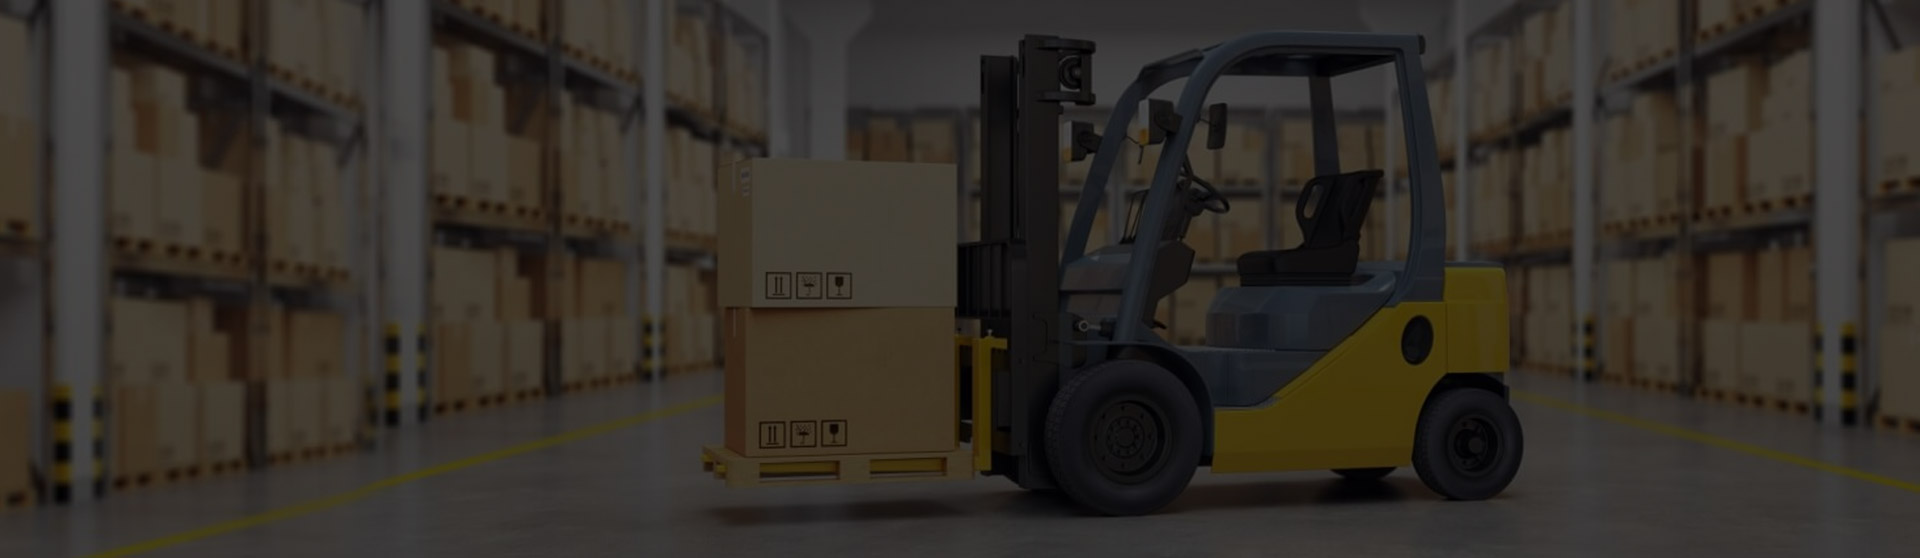
The bottom line: replacing a forklift steel rim safely requires five core steps — preparing the work area, deflating and demounting the tire, inspecting the rim, mounting the new rim, and verifying torque and inflation before returning the forklift to service. Skipping or rushing any of these steps can result in rim failure, tire blowout, or serious injury. This guide walks through each phase in practical detail so maintenance teams can complete the job correctly the first time.
Content
- 1 Why Forklift Steel Rim Replacement Cannot Be Treated Casually
- 2 Tools and Materials You Need Before You Begin
- 3 Step 1 — Prepare the Work Area and Secure the Forklift
- 4 Step 2 — Deflate the Tire and Remove the Wheel Assembly
- 5 Step 3 — Inspect and Demount the Old Rim
- 6 Step 4 — Mount the New Forklift Steel Rim and Tire
- 7 Step 5 — Reinstall the Wheel and Verify Torque and Pressure
- 8 Comparing Rim Types: Choosing the Right Forklift Steel Rim
- 9 How to Extend the Service Life of Your Industrial Forklift Wheel Rim
- 10 Frequently Asked Questions
Why Forklift Steel Rim Replacement Cannot Be Treated Casually
A heavy duty forklift steel rim bears not just the weight of the forklift itself but also the dynamic load of the cargo being lifted. A standard 3-ton counterbalance forklift exerts over 6,000 kg of combined static and dynamic force through its drive axle rims during a fully loaded lift cycle. Industrial forklift wheel rims that are cracked, corroded, or improperly seated are one of the leading causes of tire-related incidents in warehouse and logistics environments.
According to occupational safety data, tire and rim failures account for approximately 8–12% of forklift-related injuries in heavy industrial settings each year. Many of these incidents trace back to improper rim replacement procedures — over-inflated tires on a cracked rim, incorrectly torqued lug nuts, or a mismatched rim size. Getting the procedure right is not optional — it is a baseline requirement for safe operation.
Tools and Materials You Need Before You Begin
Attempting a forklift steel rim replacement without the right equipment slows the job and introduces safety risks. Confirm the following are on hand before starting:
- Floor jack or lifting device rated for the forklift's gross vehicle weight (GVW)
- Rated jack stands — never rely solely on a hydraulic jack
- Torque wrench calibrated to the manufacturer's lug nut specification
- Tire valve core tool and inflation equipment with pressure gauge
- Wire brush and rust remover for hub and rim mating surfaces
- Replacement solid steel forklift rim or split-rim assembly matched to the tire size
- Personal protective equipment: safety glasses, steel-toed boots, heavy gloves
- Inflation safety cage if working with pneumatic tires
Confirm the replacement industrial forklift wheel rim matches the original in rim diameter, width, bolt pattern, and offset. A mismatch of even 5 mm in rim offset can affect steering geometry and load distribution on drive axle applications.
Step 1 — Prepare the Work Area and Secure the Forklift
Before touching the forklift, create a controlled work environment. A moving or unstable forklift during rim removal is an immediately dangerous situation.
- Park the forklift on a flat, level concrete surface — never on an incline or compressible ground.
- Lower the forks fully to the floor and tilt the mast forward so fork tips contact the ground.
- Apply the parking brake and place wheel chocks on the opposite axle from the rim being replaced.
- Disconnect the ignition and place a "Do Not Operate" lockout tag on the key switch.
- For electric forklifts, disconnect the battery connector and follow lockout/tagout (LOTO) procedure.
- Establish a safety perimeter of at least 1.5 metres around the work area.
Never raise a forklift without knowing its rated lifting points. Consult the OEM service manual for the correct jack placement positions — jacking at the wrong point can damage the chassis or cause sudden drop.
Step 2 — Deflate the Tire and Remove the Wheel Assembly
For pneumatic tires, full deflation before lifting is non-negotiable. A pressurized tire on a damaged forklift steel rim can separate explosively during removal, with enough force to cause fatal injury.
- Remove the valve core completely using a valve core tool and allow the tire to fully deflate. Confirm zero pressure with a gauge.
- Loosen the lug nuts while the wheel is still on the ground — do not loosen after the forklift is lifted.
- Position the floor jack at the manufacturer-specified lift point and raise the axle until the tire clears the ground by at least 50 mm.
- Place rated jack stands under the chassis. Lower the jack so the forklift rests on stands — not the hydraulic jack.
- Remove the lug nuts fully. Keep them in a clean container to prevent loss or contamination.
- Pull the wheel assembly straight out from the hub. For dual rear wheels, remove the outer wheel first.
Drive axle wheel assemblies on 3–5 ton forklifts typically weigh 40–80 kg. Use a wheel dolly or two-person lift to avoid back injury and rim damage from dropping.
Step 3 — Inspect and Demount the Old Rim
Once the wheel assembly is off the forklift, fully assess the condition of the old solid steel forklift rim or pneumatic rim before proceeding.
Rim Inspection Checklist
- Cracks or fractures: Run a wire brush over the entire rim surface. Any visible crack — even hairline — is cause for immediate replacement.
- Bead seat corrosion: Heavy rust on the bead seat area prevents a proper tire seal. Surface rust can be cleaned; deep pitting means replacement.
- Out-of-round deformation: Roll the rim on a flat surface. Any wobble indicates distortion that will cause uneven tire wear and vibration.
- Lug nut holes: Check for elongation or thread damage. Damaged stud holes compromise torque retention.
- Split-rim lock ring: On multi-piece rim assemblies, inspect the lock ring for distortion or damage — never reuse a bent lock ring.
Demount the tire using a tire machine or dedicated bead breaker bar. Do not use a cutting torch to separate a tire from a heavy duty forklift steel rim — heat weakens the steel and creates an explosive risk if residual pressure remains.
Step 4 — Mount the New Forklift Steel Rim and Tire
Before mounting the tire onto the new industrial forklift wheel rim, clean the hub mounting face and all mating surfaces thoroughly. Any debris or scale between the hub and rim face will cause the wheel to run out-of-true after installation.
- Clean the hub face and rim center bore with a wire brush. Remove rust, old paint flakes, and dirt.
- Apply a thin coat of anti-seize compound to the hub pilot and lug studs — this aids future removal and prevents thread galling.
- Lubricate the tire bead with approved rubber lubricant (never petroleum-based lubricant — it degrades rubber).
- Seat the tire onto the rim using a tire machine. For split-rim assemblies, ensure the lock ring seats fully in its groove before inflation.
- Place the assembled wheel in a rated inflation cage before adding any air pressure.
- Inflate in stages: bring the tire to 10 PSI and confirm the bead has seated uniformly around the full circumference, then inflate to the manufacturer's specified pressure.
Indicative lug nut torque values (Nm) by forklift capacity. Always refer to the manufacturer's service manual for exact specifications.
Step 5 — Reinstall the Wheel and Verify Torque and Pressure
The final step is also where many replacement jobs fall short. Incorrect torque sequencing and over- or under-inflation are the two most common causes of post-replacement failures.
- Lift the assembled wheel and align it with the hub — use a wheel dolly to support the weight and avoid impact against the studs.
- Thread all lug nuts by hand before applying torque to ensure they are not cross-threaded.
- Tighten in a star (cross) pattern to 50% of the final torque specification, then repeat to 100%. This ensures even clamping force across all studs.
- Lower the forklift back to the ground and re-torque the lug nuts after the full weight is back on the wheel. Seat pressure can cause slight loosening.
- Check final tire inflation pressure with a calibrated gauge. Refer to the tire sidewall and the forklift's OEM spec — do not exceed the maximum pressure stamped on the tire.
- Conduct a slow-speed test drive of 50–100 metres, then re-check lug nut torque before returning the forklift to full service.
Schedule a re-torque check after the first 8 hours of operation following rim replacement. Thermal cycling from the first working session causes metal expansion and contraction that can settle lug nut tension.
Comparing Rim Types: Choosing the Right Forklift Steel Rim
Not all forklift rims are the same. The table below outlines the main rim configurations used across industrial forklift applications:
| Rim Type | Typical Application | Load Range | Key Feature |
|---|---|---|---|
| One-piece solid steel forklift rim | Cushion tire forklifts, indoor use | 1–5T | Simple mounting, no inflation required |
| Two-piece split industrial forklift wheel rim | Pneumatic tire, outdoor and mixed terrain | 2–7T | Allows inner tube tire mounting |
| Three-piece heavy duty forklift steel rim | Large capacity rough terrain forklifts | 5–10T+ | High load capacity, replaceable lock ring |
| Bead-seat band rim | High-flotation tires, port and container yards | 8–16T | Wide footprint, extreme load distribution |
How to Extend the Service Life of Your Industrial Forklift Wheel Rim
A solid steel forklift rim or heavy duty forklift steel rim properly maintained can last 5–10 years or more in normal warehouse service. The following maintenance practices make a measurable difference:
Estimated forklift steel rim service life improves significantly with regular inspection and maintenance intervals.
- Check tire pressure daily: Under-inflation causes rim flange fatigue; over-inflation risks bead-seat cracking. Either condition shortens rim life dramatically.
- Inspect for impact damage after every shift: Loading dock edges and floor debris are the primary causes of rim denting in warehouse environments.
- Re-torque lug nuts quarterly: Vibration from routine operation gradually loosens fasteners. A loose rim allows micro-movement against the hub that damages both components.
- Apply protective coating annually: In outdoor or humid environments, a rust-inhibiting coating on the rim interior and flange prevents corrosion that accelerates fatigue cracking.
- Rotate tires where applicable: Even wear across tires reduces asymmetric loading on the rim that can cause uneven flange wear.
With over 10,000 square metres of factory space and an inventory exceeding 20 million parts, Hangzhou Shuaijia (Yifa) Forklift Parts Co., Ltd. has been a trusted wholesale partner for internal combustion and battery forklift components since 1998. The company specializes in 1–10T forklift parts across major platforms and maintains one of the largest ready-to-ship inventories in the region.
Established in 2009, Zhuji Prebo Brake System Technology Co., Ltd. independently develops and produces brakes, brake shoes, flexible shafts, hoses, high-pressure hoses, copper pipes, piston rods, springs, screws, wire harnesses, and more — covering over 10,000 product varieties. The company integrates production, supply, and marketing, with a forklift parts branch in Shenyang for direct regional sales, and holds agency and after-sales service roles for major domestic forklift brands.
